Introduction
Wisp CMS: Wisp CMS is a user-friendly, feature-rich content management system designed for both writers and developers. It emphasizes ease of use, a clean writing environment, and robust back-end features to streamline content management and delivery. The availability of various templates, extensive documentation, and powerful integration capabilities make it an attractive option for modern-day bloggers and content creators.
Remix Framework: Remix is a full stack web framework that enables you to build dynamic and performant web applications. It's a great choice for adding a blog because it supports server-side rendering, has a solid data fetching model, and is designed to optimize performance and developer experience.
Setting Up Wisp CMS
Creating an Account:
Visit Wisp CMS and sign up for an account to access the publishing interface.
Set up your blog by following the intuitive steps provided on the Wisp dashboard.
Navigating the Wisp Dashboard:
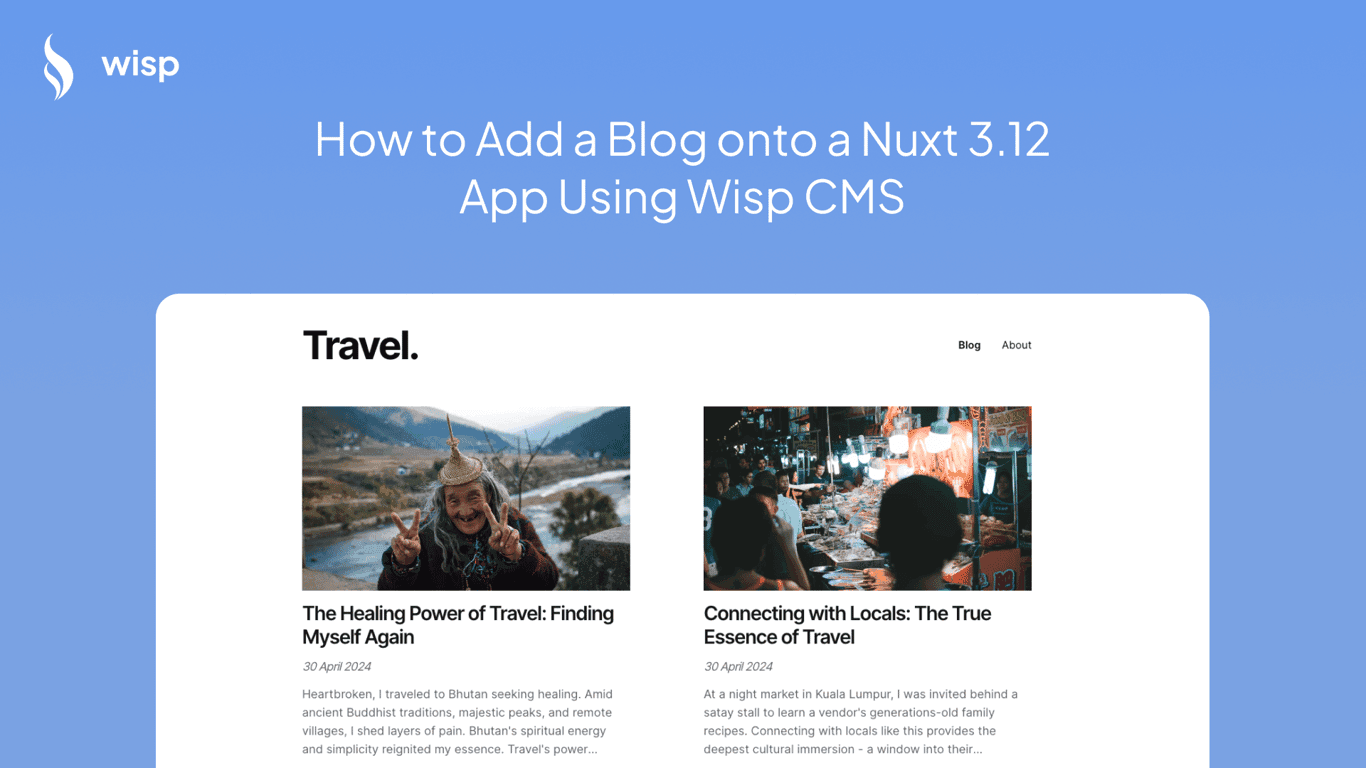
The Wisp dashboard provides a clean and focused writing environment.
Features include a drag-and-drop interface for image uploads, powerful slash commands, and easy management of publication settings.
Integrating Wisp CMS with a Remix Project
Setting Up a Remix Project:
Initialize a new Remix project by following the official Remix documentation.
Basic project structure includes routes, loaders, and UI components to render pages.
Installing Wisp JS SDK:
Install the Wisp JS SDK in your Remix project using npm:
npm i @wisp-cms/clientImport and configure the Wisp client:
import { buildWispClient } from "@wisp-cms/client";

export const wisp = buildWispClient({
  blogId: BLOG_ID,
});
Replace
BLOG_IDwith the ID from your Wisp dashboard.
Fetching Blog Content:
Use the Wisp client to fetch blog posts, single posts, tags, and related posts.
Example to fetch all blog posts:
const blogPostResult = await wisp.getPosts({ limit: "all" });Sample response:
{
  "posts": [{
    "id": "clv9qc8h000032ljsujj254rq",
    "title": "When to Say No to Next.js: The Guide for Minimalist Web Developers",
    "image": "https://imagedelivery.net/lLmNeOP7HXG0OqaG97wimw/cluqyx1rl0000l5ds3f0vkfer/68b4d481-56c2-43ee-85d1-77d9c98bee3e.png/public",
    "description": "The appeal of Next.js is obvious - built-in server-side rendering...",
  }],
  "pagination": {
    "page": 1,
    "limit": 20,
    "totalPages": 1,
    "totalPosts": 32,
  }
}
Rendering Blog Content in Remix:
Create a route for the blog posts page and fetch data in the loader function.
import { json, useLoaderData } from "remix";
import { wisp } from "~/wispClient";

export let loader = async () => {
  let posts = await wisp.getPosts({ limit: 10 });
  return json(posts);
};

export default function Blog() {
  let { posts } = useLoaderData();
  return (
    <div>
      {posts.map(post => (
        <div key={post.id}>
          <h2>{post.title}</h2>
          <p>{post.description}</p>
        </div>
      ))}
    </div>
  );
}
Advanced Features and Customization
Using Wisp's Powerful Features:
Full-text Search Capabilities: Wisp CMS provides robust full-text search features to make content discovery easier. You can implement this in your Remix project by adding a search bar and fetching search results from the Content API.
Example:
const searchResults = await wisp.getPosts({ query: 'search term' });Global CDN for Images: Wisp CMS uses Cloudflare CDN to deliver images globally, ensuring fast load times. Images uploaded via the Wisp editor are automatically served through this CDN, optimizing their delivery.
SEO Optimization: Wisp CMS includes built-in SEO optimization features to ensure your content is easily discoverable by search engines. Utilize the content API to fetch metadata and render it in your Remix routes accordingly.
Multi-tenancy Features: If you manage multiple blogs, Wisp CMS's multi-tenancy features allow you to handle them efficiently from a single dashboard.
Deploying Your Remix Blog
Deploy to Vercel:
Vercel provides an easy and scalable way to deploy your Remix project. Here are the basic steps:
Connect your repository: Link your GitHub repository containing the Remix project to Vercel.
Configure your environment variables: Ensure that your Wisp CMS credentials are set as environment variables in Vercel.
Deploy your project: Click the deploy button, and Vercel will handle the rest.
Example Environment Configuration:
WISP_BLOG_ID=<your-wisp-blog-id>Production Configuration: Ensure your Remix project is configured correctly for production. This includes handling assets, optimizing performance, and securing sensitive data.
Conclusion
Summary:
Wisp CMS offers a robust and user-friendly solution for managing blog content. Integrating it with Remix allows you to build dynamic, performant, and SEO-friendly blogs with ease.
From setting up your Wisp account, navigating the dashboard, fetching and rendering content, to deploying your Remix blog, the process is streamlined and efficient.
Try Wisp Today:
If you're looking to streamline your blogging workflow, give Wisp CMS a try. Its powerful features, ease of use, and extensive documentation make it an excellent choice for both developers and content creators.
Sign up for Wisp CMS and start enhancing your blogging experience today!
For more information and detailed guides, visit the Wisp Documentation and the Remix Documentation.