Key Takeaways
- MDX-based blogs create a developer bottleneck, turning simple content edits into pull requests and deployments that slow down publishing.
- A Next.js starter kit connected to a headless CMS is a faster solution that allows non-technical teams to publish content independently.
- This approach lets you launch a production-ready blog in minutes with pre-configured SEO, CDN-hosted images, and built-in comments out of the box.
- The Wisp Next.js Starter Kit provides this full setup on a permanent free tier, so you can stop managing Markdown files.
You've got a Next.js app up and running, and now you need a blog. The obvious path is to grab one of the standard starter kits, drop your content into a /_posts directory as Markdown files, and call it done. But then a non-technical teammate asks to publish something, a writer files a ticket for a typo fix, and suddenly your blog is a developer bottleneck.
The good news is there's a faster path: a Next.js blog starter kit pre-wired to a headless Content Management System (CMS). You get a production-ready blog in minutes, writers get a clean editor they can use without opening a pull request, and your codebase stays lean. This guide walks through the full setup using the Wisp Next.js Starter Kit, no MDX files required.
Here's what you'll have running by the end of this guide.
Why MDX-Based Starters Fall Short
Vercel's official blog starter kit is a common starting point. It works by storing posts as Markdown files in a /_posts directory, parsed at build time using libraries like remark and gray-matter. For a solo developer with no collaborators, that's fine.
The problem surfaces fast when your blog needs to grow. Every content change becomes a code change. Fixing one typo means opening the repo, committing, and triggering a deployment. As one developer put it in a discussion on r/nextjs, the common alternatives like Sanity and Contentful can feel like overkill for a blog, with "complicated setups like self-hosted databases, servers, and schemas."
That's the gap a purpose-built, blog-first headless CMS fills. It handles the content layer without requiring you to manage infrastructure or force your writers into a Git workflow.
The 5-Minute Setup with the Wisp Starter Kit
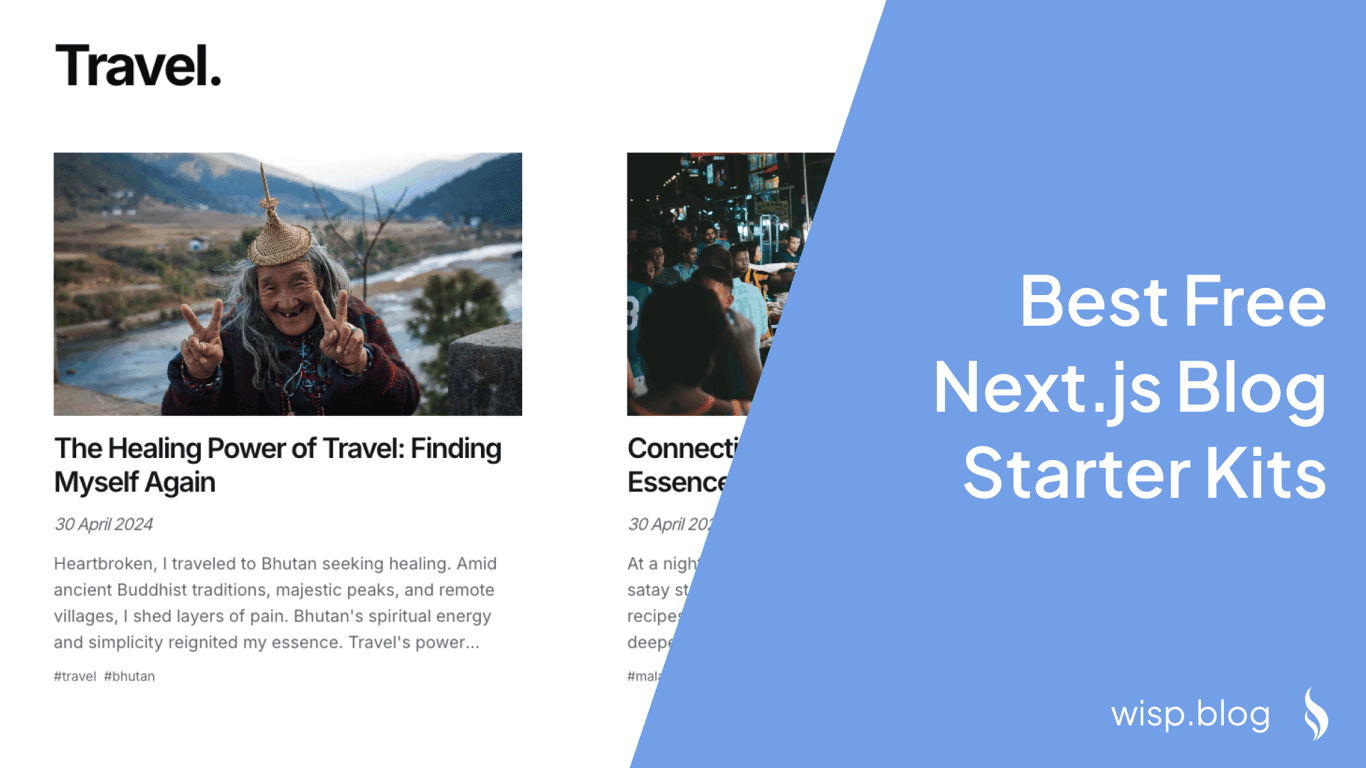
The Wisp Next.js Blog Starter Kit is a ready-to-deploy template built on a modern stack: Next.js 14 with the App Router, React Server Components, Tailwind CSS, Shadcn UI, and TypeScript. It connects to Wisp as the headless content backend out of the box.
Getting it running takes four steps.
1. Create a Free Wisp Account
Head to Wisp's signup page and create an account with Google, GitHub, or email. The free plan is a permanent tier (not a trial) that includes unlimited blogs and posts. After signing up, create your first blog project. You'll find your blogId in the Wisp dashboard. Keep it handy for the next step.
2. Clone the Starter Kit
Open your terminal and clone the official repository:
git clone https://github.com/Wisp-CMS/nextjs-blog-cms-wisp.git
cd nextjs-blog-cms-wisp
3. Configure Your Environment Variable
In the project root, create a .env.local file and add your blog ID:
NEXT_PUBLIC_WISP_BLOG_ID='YOUR_BLOG_ID_FROM_WISP'
4. Install and Run
npm install
npm run dev
Your blog is now running at http://localhost:3000.
How the Starter Kit Works Under the Hood
The kit works out of the box, but understanding the core mechanics makes customization much easier. Everything flows through the Wisp JavaScript SDK, installed as @wisp-cms/client.
Setting Up the Client
The lib/wisp.ts file initializes a reusable client using your blog ID:
import { Wisp } from '@wisp-cms/client';

export const wisp = new Wisp({
  blogId: process.env.NEXT_PUBLIC_WISP_BLOG_ID!,
});
This client is imported anywhere you need to fetch content from the Content API.
Fetching All Posts on the Homepage
The homepage component is an async React Server Component that calls wisp.getPosts() to retrieve all published posts:
import Link from 'next/link';
import { wisp } from '@/lib/wisp';

export default async function HomePage() {
  const { posts } = await wisp.getPosts();

  return (
    <main>
      <h1>My Blog</h1>
      {posts.map((post) => (
        <div key={post.id}>
          <Link href={`/posts/${post.slug}`}>
            <h2>{post.title}</h2>
          </Link>
        </div>
      ))}
    </main>
  );
}
Fetching and Rendering a Single Post
The dynamic post page at app/posts/[slug]/page.tsx fetches a single post by its slug. The contentHtml field contains the formatted HTML generated by Wisp's editor, so there's no Markdown parsing step:
import { wisp } from '@/lib/wisp';
import { notFound } from 'next/navigation';

type PostPageProps = { params: { slug: string } };

export default async function PostPage({ params }: PostPageProps) {
  const { post } = await wisp.getPost({ slug: params.slug });

  if (!post) { notFound(); }

  return (
    <article>
      <h1>{post.title}</h1>
      <div dangerouslySetInnerHTML={{ __html: post.contentHtml }} />
    </article>
  );
}
Automated SEO with generateMetadata
The starter kit uses Next.js's generateMetadata function to automatically produce page titles, meta descriptions, and Open Graph tags for every post, pulling everything directly from the CMS:
import type { Metadata } from 'next';

export async function generateMetadata({ params }: PostPageProps): Promise<Metadata> {
  const { post } = await wisp.getPost({ slug: params.slug });

  if (!post) { return { title: 'Post Not Found' }; }

  return {
    title: post.title,
    description: post.excerpt,
    openGraph: {
      title: post.title,
      description: post.excerpt,
      images: [{ url: post.featureImage?.url || '/default-og-image.png' }],
    },
  };
}
No manual meta tag management. No separate sitemap configuration. The CMS data feeds your SEO output automatically.
Beyond the Basics: Features You Get Instantly
One developer on r/nextjs noted that Wisp offers "comments and automatic related content linking (useful for SEO) out of the box." That's a good summary of what separates a blog-specific CMS from a generic headless setup.
Here's what ships without additional configuration:
A WYSIWYG Editor
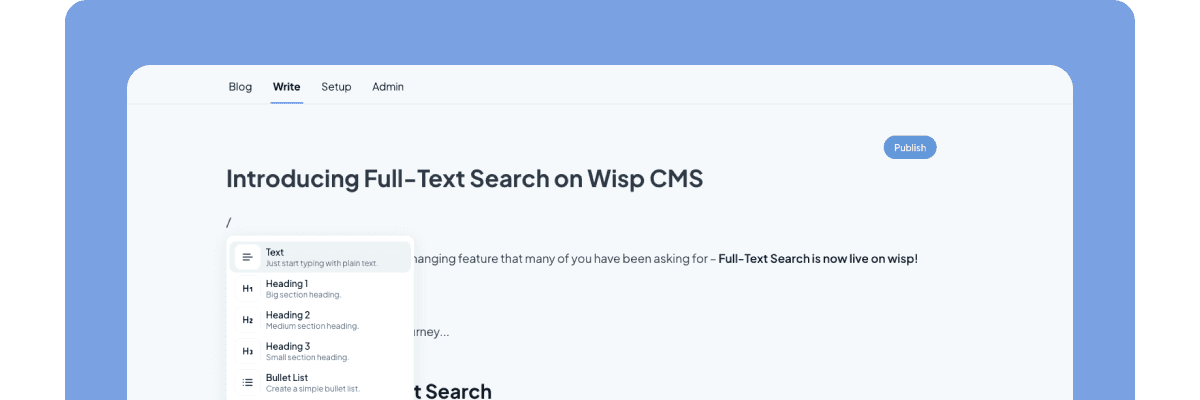
The writing experience is inspired by Notion and Medium. Writers can format text, drag-and-drop images, and embed YouTube videos without learning Markdown or touching a code editor. That's the "no MDX required" promise in practice.
Built-in Comments
The commenting feature includes:
- Email verification
- Rate limiting
- Nested replies
- Moderation controls
No need to wire up Disqus or a third-party widget.
Semantic Related Posts
Wisp's AI-powered related post suggestions use semantic similarity via embeddings to surface genuinely relevant content. This improves internal linking without any manual tagging or plugin setup.
Custom React Components in Posts
Developers can register their own components using the @wisp-cms/react-custom-component package. Writers then insert them into posts via slash commands. The component renders on the live frontend, not inside the editor preview. This is how you embed an interactive chart, a product comparison table, or a live signup form directly inside a blog post without hardcoding anything. See the Custom React Components feature page for details.
Images Hosted on a Content Delivery Network (CDN)
Images uploaded through the editor are automatically served via a global CDN. No manual CDN configuration, no bloated Git repository.
AI Contextual CTAs
Wisp uses AI contextual CTAs to match call-to-action blocks to the content of each post using embeddings, so the CTA your reader sees is relevant to what they're reading, not the same generic banner across every page.
Getting all of this from a barebones MDX setup would mean stitching together multiple libraries and third-party services. The Next.js blog starter kit format gives you a working baseline so you can focus on writing and shipping instead.
Ship Your Next Post, Not Another PR
Stop letting Markdown files slow you down. When every typo fix requires a pull request, your content operations stall. A Next.js blog starter connected to a headless CMS like Wisp frees your writers to publish independently, while developers focus on the code—not the content. You get a production-ready blog with built-in SEO, comments, and CDN-hosted images from day one.
The fastest way to see the difference is to try the five-minute setup on Wisp's permanent free plan. If you're tired of being the content bottleneck, try the starter kit and ship a live blog in minutes.
FAQs
What is a headless CMS and why use one for a Next.js blog?
A headless CMS is a content management system that separates content from the frontend presentation. You should use a headless CMS for your Next.js blog to allow writers to publish content independently without requiring developer intervention for every edit.
How is this starter different from a typical MDX blog?
This starter is different from an MDX blog because it uses a headless CMS to manage content instead of local Markdown files. This setup allows non-technical teams to publish updates without pull requests, breaking the developer bottleneck.
Is the Wisp Next.js starter kit really free?
Yes, the Wisp Next.js starter kit is completely free. It connects to a permanent free tier that includes unlimited posts and blogs, so you can launch and run your blog without any subscription costs.
What features does the starter kit include automatically?
The starter kit automatically includes a rich-text editor, built-in comments, AI-powered related posts, and CDN-hosted images. It also handles SEO metadata generation for every post, so you don't have to configure it manually.
Can I add custom React components to my posts?
Yes, you can add custom React components to your posts with Wisp. Developers can register components that writers can then embed directly into the editor, allowing for interactive elements like charts or forms within your content.
How quickly can I get a blog running with this kit?
You can get a blog running with this kit in about five minutes. The setup involves cloning the repository and configuring one environment variable, giving you a production-ready blog with a full content backend almost instantly.