Key Takeaways
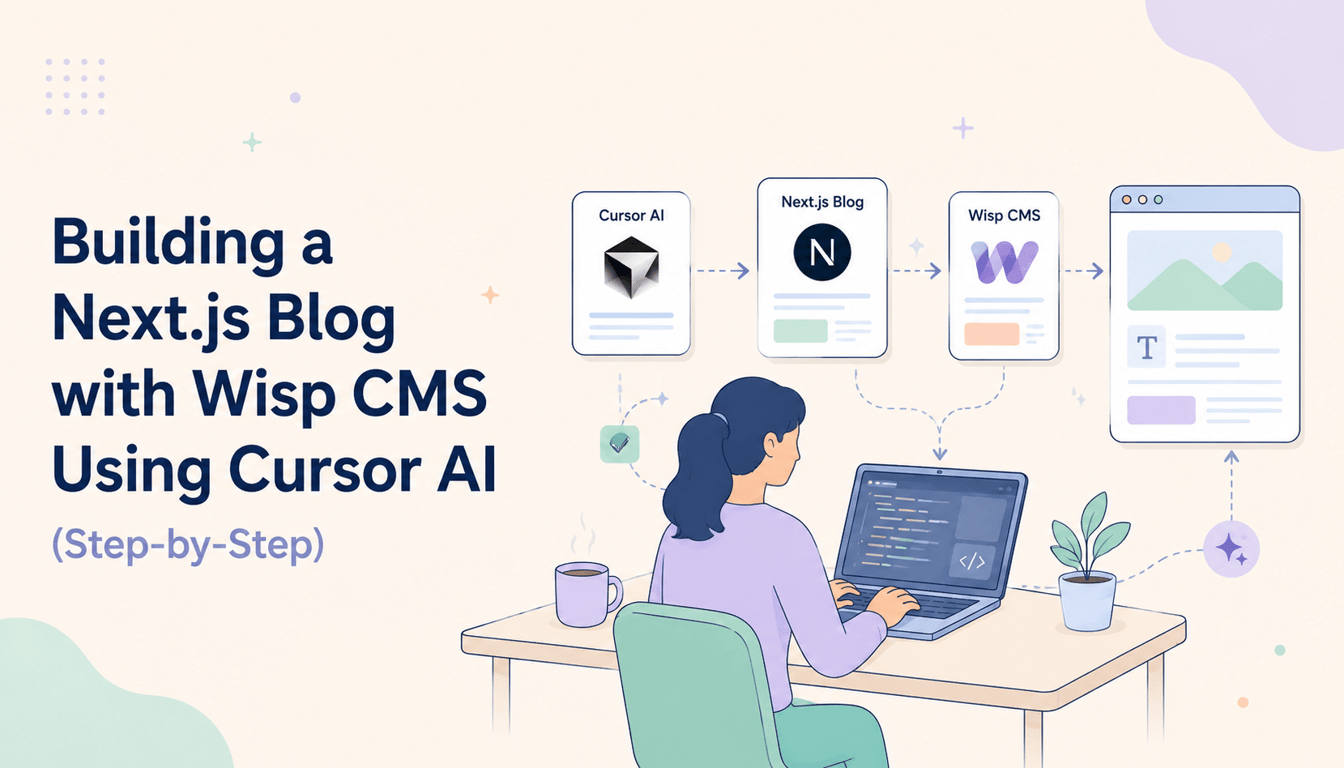
Build a Next.js blog from scratch by using Cursor AI to write the code and Wisp as the headless CMS backend.
Use specific prompts in Cursor to generate React Server Components that fetch content from Wisp's API, creating both a blog index and individual post pages.
Automate SEO tasks by prompting Cursor to create
generateMetadatafunctions that pull titles, descriptions, and feature images directly from the CMS.For a faster start, the Wisp Next.js Starter Kit offers a pre-built template with Vercel deployment ready to go.
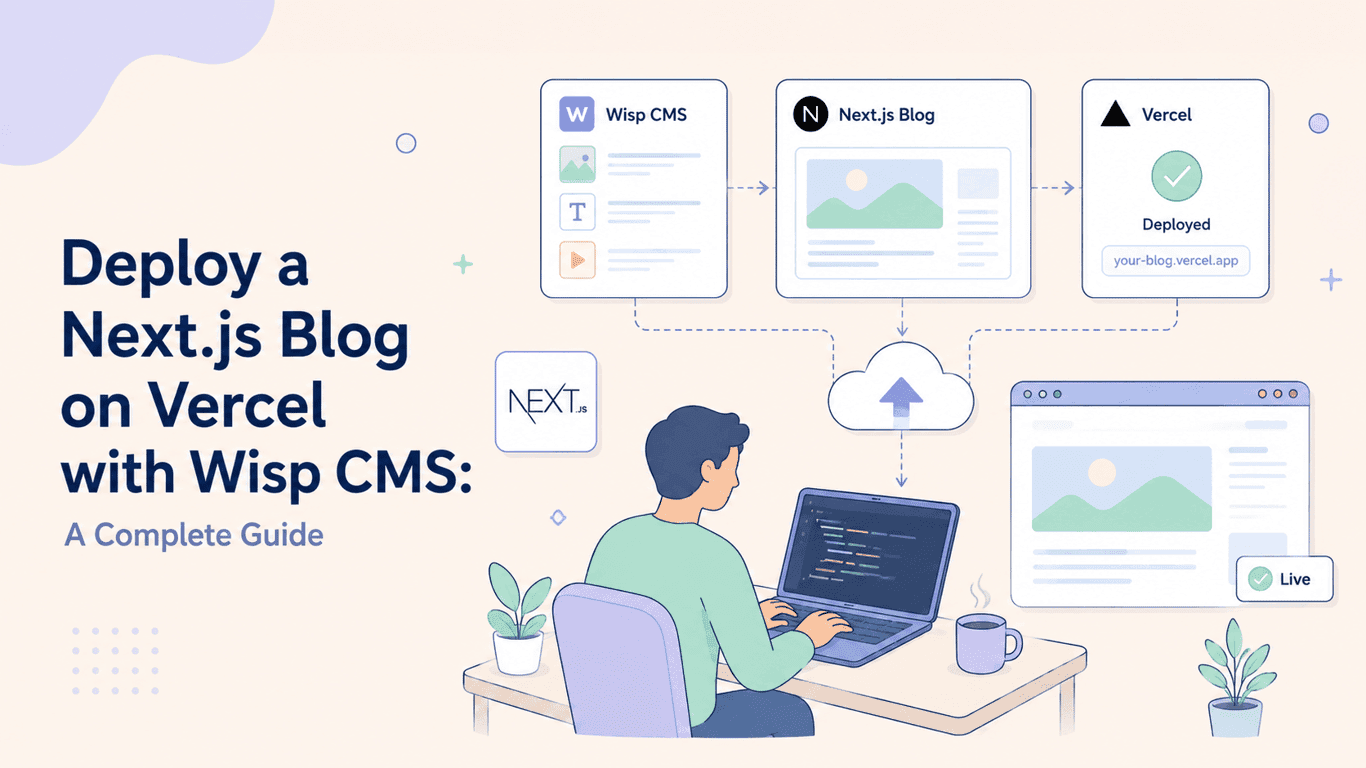
You've decided to build a blog with Next.js. Then comes the part that slows everyone down: which Content Management System (CMS) do you use? Contentful? PayloadCMS? Just dump Markdown files into the repo and call it a day? If you've searched online for a definitive answer, you already know most discussions end with eight different opinions and no clear winner.
This tutorial cuts through that noise. You'll build a Next.js blog with Wisp CMS as the headless backend, using Cursor AI to write and scaffold the code. No boilerplate fatigue, no CMS configuration rabbit holes. Just a working blog you can deploy to Vercel.
Here's exactly how to build a Next.js blog with Cursor AI, step by step.
Prerequisites for This Tutorial
Before you start, make sure you have the following:
Node.js: Latest LTS version installed on your machine.
Cursor AI: The code editor downloaded and set up. If you haven't installed it yet, grab it from cursor.com.
A Wisp account: Sign up for a free account at Wisp. After creating your first blog project, you'll find your
blogIdin the Wisp dashboard. The free plan is permanent and includes unlimited posts with attribution.
Step 1: Scaffold a New Next.js Project with Cursor AI
Open Cursor and use the built-in AI chat to run your project setup. Cursor can execute terminal commands directly, which saves you context-switching.
Type the following into Cursor's chat panel:
Run this command in the terminal:
npx create-next-app@latest my-wisp-blog
Follow the create-next-app prompts. For a modern setup that aligns with the Wisp Next.js Starter Kit, choose TypeScript, Tailwind CSS, and the App Router. Once the scaffold finishes, run cd my-wisp-blog and open the folder in Cursor.
That's your project shell. Now let's wire up the content layer.
Step 2: Install and Configure the Wisp JS SDK
Wisp's JS SDK (@wisp-cms/client) is a lightweight client that handles all communication with the Wisp Content API. You don't need to write raw fetch calls or handle pagination manually.
Run the installation in Cursor's integrated terminal:
npm install @wisp-cms/client
Next, create a lib/wisp.ts file in your project root. This is your shared Wisp client instance:
import { Wisp } from '@wisp-cms/client';

export const wisp = new Wisp({
  blogId: process.env.NEXT_PUBLIC_WISP_BLOG_ID!,
});
Then create a .env.local file and add your blog ID:
NEXT_PUBLIC_WISP_BLOG_ID='YOUR_BLOG_ID_FROM_WISP'
You'll find your blogId in the Wisp dashboard after creating a blog project. Keep it in an environment variable so it stays out of version control. The Wisp JS SDK docs cover all available methods for fetching posts and Custom Content Types if you want to go deeper after this tutorial.
Step 3: Use Cursor to Generate the Blog Listing Page
This is where Cursor AI pays off. Instead of manually writing the fetch logic, component structure, and link wiring, you give Cursor a clear instruction and let it produce the code.
Open Cursor's chat and enter this prompt:
Using the Wisp client from 'lib/wisp.ts', modify 'app/page.tsx' to be an async Server Component. It should fetch all posts using
wisp.getPosts()and render a list of post titles. Each title should be a link pointing to '/posts/[slug]', where [slug] is the post's slug.
Cursor should generate something close to this:
import Link from 'next/link';
import { wisp } from '@/lib/wisp';

export default async function HomePage() {
  const { posts } = await wisp.getPosts();

  return (
    <main className="container mx-auto p-8">
      <h1 className="text-4xl font-bold mb-8">My Blog</h1>
      <div className="space-y-4">
        {posts.map((post) => (
          <div key={post.id}>
            <Link href={`/posts/${post.slug}`}>
              <h2 className="text-2xl font-semibold hover:underline">
                {post.title}
              </h2>
            </Link>
            <p className="text-gray-600">{post.excerpt}</p>
          </div>
        ))}
      </div>
    </main>
  );
}
This uses a React Server Component (RSC) to fetch posts on the server at request time. No client-side waterfalls, no loading spinners on the initial render. The posts are there when the page loads, which matters for both SEO and perceived performance.
Step 4: Use Cursor to Create the Individual Post Page
Now you need a dynamic route that renders a single post. In the Next.js App Router, that means creating the file app/posts/[slug]/page.tsx.
Create the folder structure first, then give Cursor this prompt:
Create a new Next.js page component at 'app/posts/[slug]/page.tsx'. This should be an async Server Component that accepts 'slug' as a param. Use the slug to fetch a single post with
wisp.getPost({ slug }). Render the post's title and its content. The content is HTML, so usedangerouslySetInnerHTMLto render it.
The expected output looks like this:
import { wisp } from '@/lib/wisp';
import { notFound } from 'next/navigation';

type PostPageProps = {
  params: {
    slug: string;
  };
};

export default async function PostPage({ params }: PostPageProps) {
  const { post } = await wisp.getPost({ slug: params.slug });

  if (!post) {
    notFound();
  }

  return (
    <article className="container mx-auto p-8 prose">
      <h1>{post.title}</h1>
      <div dangerouslySetInnerHTML={{ __html: post.contentHtml }} />
    </article>
  );
}
A few things worth noting here. The [slug] folder name is what tells Next.js this is a dynamic route. The notFound() call from next/navigation triggers a 404 page cleanly when a slug doesn't match any post.
dangerouslySetInnerHTML is the correct approach here because Wisp delivers post content as rich HTML from its editor, which is inspired by Medium and Notion. Writers can format, embed media, and structure content without touching code. The editor also allows developers to register Custom React Components for writers to use.
Step 5: Add Metadata and SEO Tags in Seconds
Open Graph (OG) metadata and page titles are non-negotiable for any blog that cares about search and social sharing. Writing generateMetadata functions manually is tedious. Cursor handles it in seconds.
Add this prompt in Cursor's chat while app/posts/[slug]/page.tsx is open:
In 'app/posts/[slug]/page.tsx', add a
generateMetadatafunction. It should fetch the post usingwisp.getPost({ slug })and return a Metadata object containing the post's title, description from the excerpt, and Open Graph (OG) properties for title, description, and image usingpost.featureImage?.url.
Here's what the function should look like:
import type { Metadata } from 'next';

export async function generateMetadata({ params }: PostPageProps): Promise<Metadata> {
  const { post } = await wisp.getPost({ slug: params.slug });

  if (!post) {
    return {
      title: 'Post Not Found',
    };
  }

  return {
    title: post.title,
    description: post.excerpt,
    openGraph: {
      title: post.title,
      description: post.excerpt,
      images: [
        {
          url: post.featureImage?.url || '/default-og-image.png',
          width: 1200,
          height: 630,
        },
      ],
    },
  };
}
The generateMetadata function runs on the server, so search engines receive fully populated meta tags in the initial HTML response. This is a meaningful advantage over client-side approaches where crawlers may see empty tags on first load.
Wisp's API returns title, excerpt, and featureImage for every post out of the box. You're not patching together fields from multiple endpoints. If you want to generate a featured image for posts that don't have one yet, the Featured Image Generator can help speed that up.
Step 6: Deploy Your Blog to Vercel
Deployment is the shortest step here. Vercel auto-detects Next.js projects and handles the build configuration.
Push your project to a GitHub repository.
Sign up for a Vercel account and connect it to GitHub.
Import the repository from the Vercel dashboard.
Add
NEXT_PUBLIC_WISP_BLOG_IDas an environment variable in your Vercel project settings.Click Deploy.
Vercel will detect the Next.js App Router setup and deploy accordingly. For a full walkthrough of the Vercel deployment process, the official Vercel documentation covers it in depth.
One thing to double-check: make sure your environment variable is added before the first deploy. Missing it causes the Wisp client to throw on initialization since process.env.NEXT_PUBLIC_WISP_BLOG_ID will be undefined.
Build Fast, Publish Faster
Building a Next.js blog doesn't have to get stuck in CMS debates or boilerplate fatigue. With the right tools, you can go from an empty folder to a deployed, SEO-ready site in minutes.
The key is combining specific AI prompts in Cursor to handle the code with a headless CMS like Wisp to manage the content. This workflow lets you automate tedious tasks like generating metadata and creating post pages. For a hands-on next step, try one of the prompts from this tutorial in your own editor, then explore adding features like native comments.
If your team is tired of fighting with clunky plugins or messy Markdown files, a simpler content backend is worth exploring. Wisp's free plan includes the JS SDK used in this tutorial, and you can sign up to get started in a few minutes.
FAQs
What is Wisp CMS?
Wisp CMS is a headless content management system designed specifically for blogs. It provides a simple API for developers to fetch content and a clean, Notion-like writing interface for content creators, making it a fast alternative to complex systems.
How does Cursor AI help build a Next.js blog?
Cursor AI helps build a Next.js blog by generating code from natural language prompts. You can ask it to create components, fetch data from an API like Wisp's, and write metadata functions, which significantly accelerates the development process.
Do I need to pay for Wisp to use it with Next.js?
No, you do not need to pay for Wisp to use it with Next.js. Wisp offers a permanent free plan that includes unlimited posts and all the core features needed to follow this tutorial and launch a complete blog.
Why use a React Server Component for blog pages?
Using a React Server Component (RSC) for blog pages improves performance and SEO. The content is fetched and rendered on the server, so the browser receives a fully-formed HTML page, leading to faster load times and better indexing.
What’s the main benefit of using the Wisp JS SDK?
The main benefit of using the Wisp JS SDK is simplicity. It handles all the direct communication with the Wisp Content API, so you don't need to write raw fetch calls or manage API keys and endpoints manually.
How do I handle images for my blog posts?
You handle images for your blog posts directly within Wisp's editor. Wisp's API then provides image URLs, like post.featureImage.url, which you can easily use in your Next.js components to render the images.