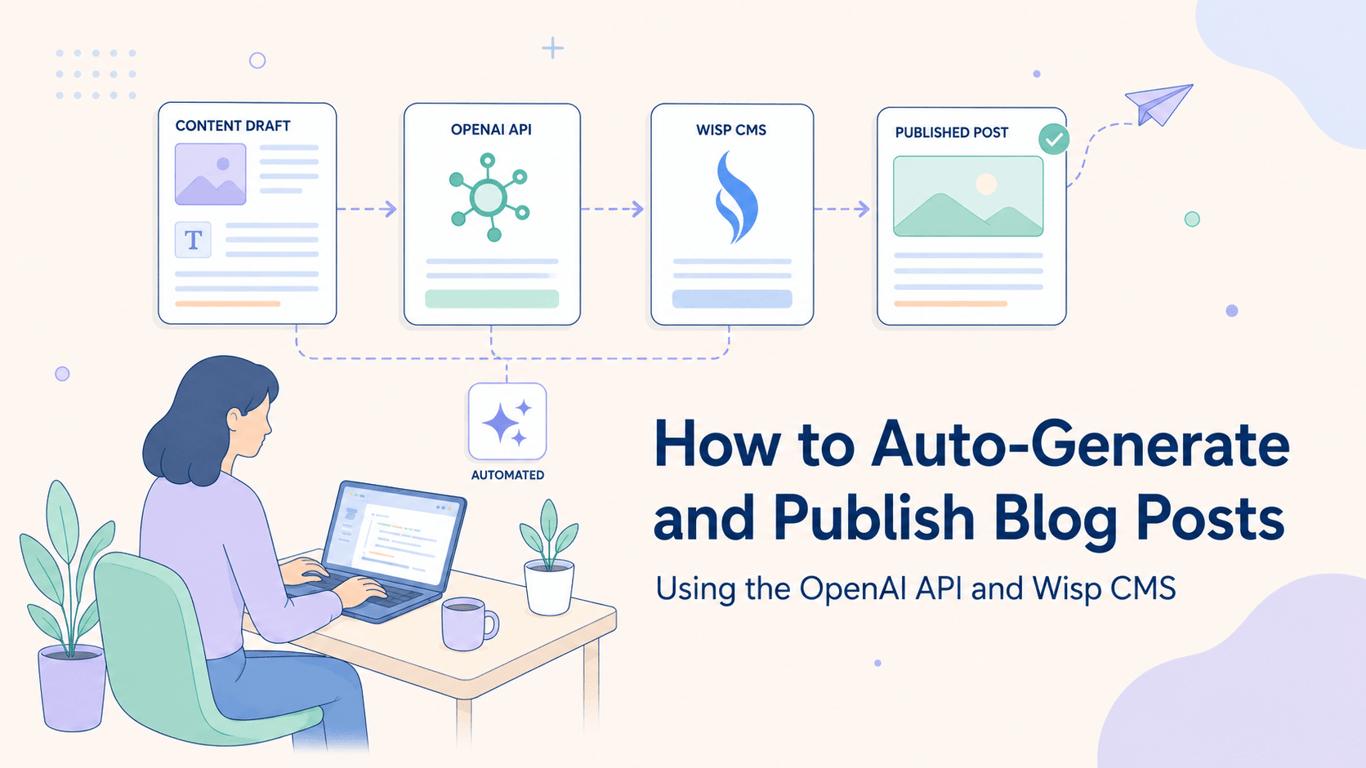
You've got the OpenAI Application Programming Interface (API) working and can generate a decent blog post with a single prompt. But then you're back to copy-pasting into your CMS, formatting it manually, and hitting publish by hand. For a changelog that ships every sprint or SEO content at scale, that manual workflow breaks fast.
This tutorial shows you how to connect the OpenAI API to Wisp's Content API with a single Node.js script, so generated posts land directly in your CMS, ready to review or publish. No agent framework, no orchestration overhead, just two API calls chained together.
Key Takeaways
Automate blog post creation by connecting the OpenAI API directly to your CMS with a simple Node.js script.
Get reliable, machine-readable content by forcing OpenAI to return a specific JSON schema using the
response_format: { type: "json_object" }parameter.The core workflow involves just two API calls: one to generate structured content from a topic and another to publish it.
For quality control, push generated posts as drafts for human review and editing before they go live.
Wisp's Content API allows you to programmatically publish generated content, turning your script into a full content pipeline.
Here's what the script covers end to end.
When This Setup Makes Sense
Not every blog needs automation. But some publishing patterns are almost entirely mechanical, and those are worth scripting.
The clearest use cases are changelog posts (same structure every time, just different content), weekly roundups where you summarize a fixed set of sources, product update announcements triggered by a release, and SEO articles where you're targeting a batch of related keywords. In all of these, the structure is predictable, the topic is well-defined, and the bottleneck is just the time it takes to generate and publish.
If your blog needs a human voice on every post, this workflow still helps. You can generate a solid first draft, push it to Wisp as a draft, and edit it in the Wisp editor before publishing. The output isn't perfect, as one developer shared on Reddit, "you still need to fact-check + tweak intros, but for fast scale? honestly kinda wild." The draft workflow handles that.
Prerequisites
Before writing any code, make sure you have the following ready:
Node.js: You need v18 or later installed locally.
OpenAI API key: You can get this from your OpenAI platform dashboard.
Wisp account: Sign up at wisp.blog. The free plan includes unlimited blogs and posts, so you can test this without payment.
Wisp Blog ID and API key: You can find both on the Setup page in your Wisp dashboard after creating a blog.
npm packages: You'll need
openai,axios, anddotenv.
Run this to install dependencies:
npm install openai axios dotenv
Step 1: Generate Structured Blog Posts with the OpenAI API
The trick to making this automatable is not just generating text. It's generating structured text your script can parse without guesswork. That means asking OpenAI to return a JSON object with specific fields, every time.
The OpenAI API supports a response_format: { type: "json_object" } parameter that puts the model in JSON mode. Pair this with a system prompt that defines the exact schema you want, and you get reliable, machine-readable output.
Here's the system prompt:
const systemPrompt = `
You are a helpful assistant that writes blog posts.
Reply only with a single JSON object matching this exact schema:
{
  "title": "A compelling, SEO-friendly title",
  "slug": "a-url-friendly-slug",
  "meta_description": "A concise meta description under 160 characters",
  "body_markdown": "The full post in Markdown, with headings, lists, and paragraphs"
}
Do not include any text outside the JSON object.
`;
And the OpenAI API call in Node.js:
import OpenAI from 'openai';

const openai = new OpenAI({ apiKey: process.env.OPENAI_API_KEY });

async function generateBlogPost(topic) {
  const completion = await openai.chat.completions.create({
    model: 'gpt-4-turbo',
    messages: [
      { role: 'system', content: systemPrompt },
      { role: 'user', content: `Write a blog post about: ${topic}` },
    ],
    response_format: { type: 'json_object' },
  });

  return JSON.parse(completion.choices[0].message.content);
}
The response_format option is available on gpt-4-turbo and gpt-3.5-turbo-1106 or later. It prevents the model from wrapping JSON in markdown code fences or adding preamble text, which would break JSON.parse.
Step 2: Publish the Post to Wisp via the Content API
Once you have the structured JSON from OpenAI, publishing to Wisp is a single POST request. The Wisp REST API accepts blog post data including title, slug, content, and metadata, and returns the created post object.
Here's the publishing function:
import axios from 'axios';

async function publishToWisp(postData, status = 'draft') {
  const blogId = process.env.WISP_BLOG_ID;
  const apiKey = process.env.WISP_API_KEY;

  const response = await axios.post(
    `https://www.wisp.blog/api/v1/${blogId}/posts`,
    {
      title: postData.title,
      slug: postData.slug,
      content: postData.body_markdown,
      description: postData.meta_description,
      status: status,
    },
    {
      headers: {
        Authorization: `Bearer ${apiKey}`,
        'Content-Type': 'application/json',
      },
    }
  );

  return response.data;
}
The status parameter determines if the post goes live immediately or sits in your drafts queue. More on that in the next section.
The Full Automation Script
Here's the complete index.js that wires both steps together. It reads the blog topic from a command-line argument, generates the post, and pushes it to Wisp.
// index.js
import 'dotenv/config';
import OpenAI from 'openai';
import axios from 'axios';

const openai = new OpenAI({ apiKey: process.env.OPENAI_API_KEY });

const systemPrompt = `
You are a helpful assistant that writes blog posts.
Reply only with a single JSON object matching this exact schema:
{
  "title": "A compelling, SEO-friendly title",
  "slug": "a-url-friendly-slug",
  "meta_description": "A concise meta description under 160 characters",
  "body_markdown": "The full post in Markdown, with headings, lists, and paragraphs"
}
Do not include any text outside the JSON object.
`;

async function generateBlogPost(topic) {
  const completion = await openai.chat.completions.create({
    model: 'gpt-4-turbo',
    messages: [
      { role: 'system', content: systemPrompt },
      { role: 'user', content: `Write a blog post about: ${topic}` },
    ],
    response_format: { type: 'json_object' },
  });

  return JSON.parse(completion.choices[0].message.content);
}

async function publishToWisp(postData, status = 'draft') {
  const blogId = process.env.WISP_BLOG_ID;
  const apiKey = process.env.WISP_API_KEY;

  const response = await axios.post(
    `https://www.wisp.blog/api/v1/${blogId}/posts`,
    {
      title: postData.title,
      slug: postData.slug,
      content: postData.body_markdown,
      description: postData.meta_description,
      status,
    },
    {
      headers: {
        Authorization: `Bearer ${apiKey}`,
        'Content-Type': 'application/json',
      },
    }
  );

  return response.data;
}

async function main() {
  const topic = process.argv[2];

  if (!topic) {
    console.error('Usage: node index.js "your blog post topic"');
    process.exit(1);
  }

  try {
    console.log(`Generating post about: ${topic}`);
    const post = await generateBlogPost(topic);
    console.log(`Generated: "${post.title}"`);

    const result = await publishToWisp(post, 'draft');
    console.log(`Published to Wisp: ${result.id}`);
  } catch (err) {
    if (err.response) {
      console.error('API error:', err.response.status, err.response.data);
    } else {
      console.error('Unexpected error:', err.message);
    }
    process.exit(1);
  }
}

main();
Store your credentials in a .env file:
OPENAI_API_KEY=sk-...
WISP_BLOG_ID=your-blog-id
WISP_API_KEY=your-wisp-api-key
Run the script with:
node index.js "Top 5 benefits of serverless architecture for startups"
Draft vs. Published: Building a Review Step
Pushing straight to published works for structured, low-risk content like changelogs where the format is standardized. For anything more free-form, defaulting to draft is the smarter call.
With status: 'draft', the post appears in your Wisp dashboard but stays invisible to readers. Your team can review it in Wisp's editor, make tweaks, swap out a weak intro, or add a featured image, before hitting publish. This is the pattern that keeps automated content from going live half-baked.
To make this configurable without touching the script each time, pass the status as a second command-line argument:
const status = process.argv[3] === 'published' ? 'published' : 'draft';
Then run with:
# Push as draft for review
node index.js "Serverless architecture benefits" draft

# Publish immediately
node index.js "v2.4.0 changelog" published
Optional Enhancements
The base script covers the core loop. A few additions make it significantly more useful in production.
Add Tags
Extend the OpenAI JSON schema to include a tags array, then pass it to the Wisp payload. Tags help organize content in Wisp and improve discoverability.
// In systemPrompt schema:
"tags": ["array", "of", "relevant", "tags"]

// In publishToWisp payload:
tags: postData.tags,
Set a Featured Image
Add a featured_image_url field to the Wisp payload pointing to any publicly accessible image URL. You can generate one using the Wisp Featured Image Generator or pull from an external API.
featured_image_url: 'https://your-cdn.com/image.jpg',
Schedule With Cron
To run the script on a recurring schedule, add a cron job to your server. This example runs every Monday at 9 AM to generate a weekly roundup post:
0 9 * * 1 /usr/local/bin/node /path/to/index.js "Weekly roundup: top dev news" draft
Cron-based scheduling is a practical way to keep a content calendar running without manual intervention, especially useful for SEO content campaigns where you're targeting a batch of related keywords over several weeks.
Basic Error Handling
The try/catch block in the full script covers the most common failure modes. A few things worth handling explicitly:
OpenAI rate limits: The API returns a
429status code when you hit rate limits. Add retry logic with exponential backoff if you're running the script at volume.Malformed JSON from OpenAI: Even in JSON mode, edge cases exist. Wrap
JSON.parsein its owntry/catchand log the raw response before re-throwing, so you can inspect what the model actually returned.Wisp API errors: A
400usually means a missing or invalid field. A401means your API key is wrong or expired. Logerr.response.datato get the specific error message from Wisp.
let post;
try {
  post = JSON.parse(completion.choices[0].message.content);
} catch (parseErr) {
  console.error('Failed to parse OpenAI response:', completion.choices[0].message.content);
  throw parseErr;
}
From Prompt to Published in Two API Calls
You now have a complete script to turn a single topic into a fully-formatted blog post, ready for review in your CMS.
The key is forcing structured JSON output from OpenAI. This gives your script predictable data to work with every time. From there, a single API call pushes the generated content straight to Wisp as a draft, creating a simple but powerful review queue.
Your next step is to run it yourself. Grab the code from this tutorial, add your API keys, and try generating your first post. If your current CMS makes the final step clunky, Wisp's Content API can remove the friction, and the free plan has full API access to test this workflow.
FAQs
What's the main benefit of forcing JSON output from OpenAI?
The main benefit of forcing JSON output is reliability. It ensures the script receives structured, machine-readable data every time, eliminating the need to parse unpredictable plain text. This makes the automation dependable.
How do I handle cases where OpenAI's JSON is invalid?
To handle invalid JSON from OpenAI, wrap the JSON.parse() call in a try/catch block. This allows your script to catch parsing errors gracefully and log the raw, malformed response from the model for easier debugging.
Which OpenAI models work with JSON mode?
JSON mode is supported by newer OpenAI models, specifically gpt-4-turbo and gpt-3.5-turbo-1106 or later versions. Using the response_format parameter with older models may not work reliably.
Can I use this script with a different CMS besides Wisp?
Yes, you can adapt this script for another CMS. You would need to replace the publishToWisp function with a new function that makes an API call to your specific CMS's content endpoint. The core logic remains the same.
Why is it better to publish posts as drafts first?
Publishing posts as drafts first provides a crucial quality control step. It allows a human to review, edit, and fact-check the AI-generated content in the CMS before it goes live, ensuring it meets your standards.
How can I improve the blog posts generated by the AI?
To improve the generated blog posts, refine your system prompt. Add more detailed instructions about tone, style, desired structure, or key points to include. Providing few-shot examples in the prompt can also enhance quality.