Key Takeaways
Building a blog directly within a Lovable app is difficult and requires developers to build CRUD logic, routing, and SEO features from scratch.
A headless CMS separates content management from your app's code, allowing non-technical team members to publish without developer help.
Integrating a blog involves fetching post data from a CMS API and rendering it on your Lovable frontend, including key metadata for SEO.
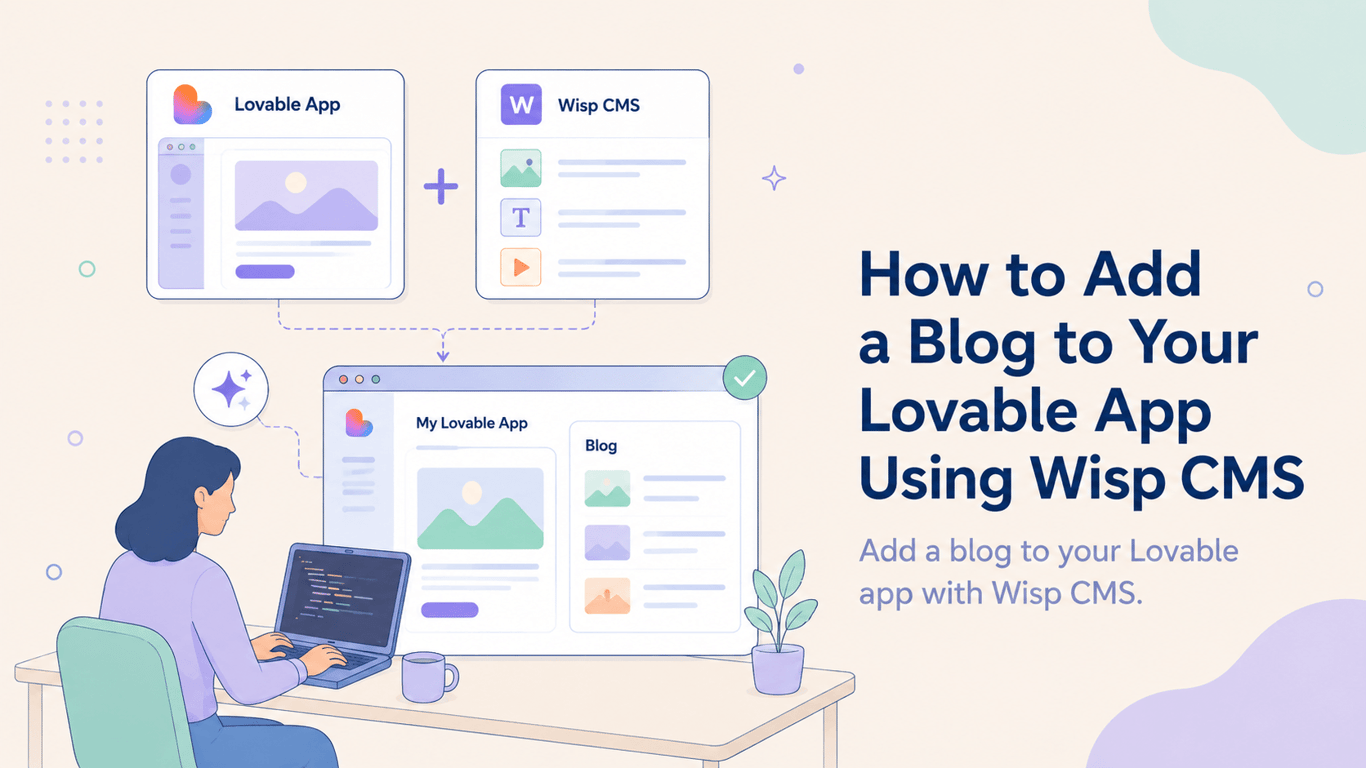
You can add a fully-featured blog to your Lovable app using a blog-first headless CMS like Wisp to handle content, images, and SEO data.
You've built your app with Lovable, the core product works, users are signing up, and now you need to drive organic traffic. A blog is the obvious next step, but adding one often means hitting a wall. Many existing tools assume you're a developer or force you to leave your AI builder workflow. Prompting Lovable to build a blog from scratch means wrestling with Create, Read, Update, Delete (CRUD) logic, routing, Search Engine Optimization (SEO) metadata, and slug generation, all before you've written a single post.
The smarter move is to keep Lovable doing what it does well, and drop in a purpose-built headless Content Management System (CMS) as your content layer. Wisp is a headless blog CMS built specifically for apps on modern frontend stacks. It handles the editorial side through a clean editor, and delivers posts to your Lovable app via an Application Programming Interface (API). No server to manage, no schema to design from scratch, no pull requests for a title fix.
Here's how to wire it up in six steps.
Why a Headless CMS Fits Lovable Perfectly
Lovable generates a frontend app. It doesn't manage persistent content like blog posts. Trying to build that into Lovable directly means your posts live in prompts, in a database you spun up mid-session, or nowhere at all once you reload.
A headless CMS separates the content layer from the presentation layer. You manage and publish posts in the CMS, and your Lovable app fetches them via API whenever a page loads. As Hygraph explains, this approach gives teams independent workflows. Your content editor never has to touch the codebase, and your app only needs to know where to fetch.
Wisp is purpose-built for this use case. It's not a general-purpose headless CMS that forces you to define content schemas before you can write anything. It's a blog-first tool: you sign up, create a blog, and start writing. The Content API and JavaScript SDK let you fetch posts with a few lines of code on the Lovable side.
Step 1: Create a Wisp Account and Set Up a Blog
Go to Wisp's sign-up page and create a free account. Wisp's free plan is permanent, not a trial, and includes unlimited blogs and posts with attribution. It's a solid starting point before you've written a single post.
Once you're in the dashboard, create a new blog project. Give it a name that matches your app or domain. This blog project is the container for all your posts and settings.
Step 2: Get Your Wisp API Credentials
After creating your blog, go to the blog settings inside the dashboard. You'll find two values you'll need for the integration:
Blog ID: a unique identifier for your blog project
API Key: your authentication token for API requests
Store these as environment variables in your Lovable project. Treat them like any other API secret. Don't hardcode them in your frontend.
Step 3: Connect Wisp to Your Lovable App
With your credentials ready, you can start fetching posts from Wisp. The Content API is a straightforward REST endpoint. Here's a basic fetch call to retrieve your post list:
fetch(`https://api.wisp.blog/v1/posts?blogId=YOUR_BLOG_ID`, {
  headers: {
    'Authorization': `Bearer YOUR_API_KEY`
  }
})
  .then(response => response.json())
  .then(data => console.log(data));
This returns an array of post objects with fields for title, slug, excerpt, content, tags, and metadata. If your Lovable app uses React, you can also install the @wisp-cms/client SDK for a more structured integration:
npm install @wisp-cms/client
Then use it like this:
import { WispClient } from '@wisp-cms/client';

const wisp = new WispClient({
  blogId: process.env.WISP_BLOG_ID,
});

const { posts } = await wisp.getPosts();
The JS SDK documentation covers all available methods, including fetching by tag, pagination, and individual post retrieval by slug.
Step 4: Render a Post Listing Page
In your Lovable app, create a new route for /blog. On page load, call the API or SDK to fetch your posts, then map over the results to render a list:
posts.map(post => (
  <div key={post.slug}>
    <a href={`/blog/${post.slug}`}>{post.title}</a>
    <p>{post.description}</p>
  </div>
))
Each post object includes a slug field that you'll use to build links to the individual post pages. Keep this listing page simple at first: title, excerpt, and a read link. You can layer in cover images and tags once the basic routing works.
Step 5: Render Individual Post Pages
Set up a dynamic route in your Lovable app to handle URLs like /blog/your-post-slug. When this page loads, fetch the specific post by slug:
const { post } = await wisp.getPost(slug);
Wisp returns the post content as HTML, so you can render it directly with dangerouslySetInnerHTML in React, or pipe it through a sanitizer if you prefer. The content field includes all formatting, headings, images, and embeds your editor applied when writing the post.
Step 6: Add Metadata for SEO
This is where a lot of DIY blog setups fall short. Each post fetched from the Wisp Content API includes metadata fields you can use directly in your page head:
post.title: the post title for<title>and Open Graph (OG) tagspost.description: the meta descriptionpost.image: the featured image for OG and social sharing cards
In a React app, you'd apply these to your document head using a library like React Helmet or your framework's native head management. Here's the pattern:
<head>
  <title>{post.title}</title>
  <meta name="description" content={post.description} />
  <meta property="og:title" content={post.title} />
  <meta property="og:description" content={post.description} />
  <meta property="og:image" content={post.image} />
</head>
Getting this right from the start means every post you publish is correctly indexed and shareable without extra work later. See Wisp's Content API docs for a full breakdown of available fields.
A Blog Editor Your Whole Team Can Use
Once the integration is live, the editorial experience on the Wisp side is what keeps it from becoming a maintenance burden. As one Lovable builder put it on Reddit, "Every single option assumes you're a developer or wants you to leave your AI builder workflow." Existing tools often assume technical knowledge or break down when you try to embed media or paste in long-form content.
Wisp's editor is designed around the opposite assumption. It's inspired by Medium and Notion: clean, distraction-free, and built for writing rather than configuring. Writers can format text, embed images, and publish posts without touching Markdown, opening a code editor, or filing a pull request with your dev team.
Images you upload are automatically hosted and served via a global Content Delivery Network (CDN). No manual CDN configuration, no uploaded-file-in-the-codebase problem, no broken images after a deployment. Your content team can operate independently from development.
For teams that want to go further, Wisp supports custom React components. Developers can register interactive components via the SDK, and writers insert them into posts using slash commands. They render on your live frontend, not in the editor. It's a useful pattern for pricing tables, calculators, or any interactive element your posts might need.
Wisp also supports AI-powered contextual CTAs that match to article content using embeddings, and semantic related post suggestions, both built in, not third-party plugins. These are the kinds of features that turn a basic blog into a conversion and retention tool as your content library grows.
Your Lovable App Needs a Real Blog Engine
Stop trying to force Lovable to be a blog platform. The path to a high-performing blog isn’t through more prompts, it’s by separating your content from your code. A headless CMS like Wisp handles the writing and SEO, freeing your team to publish without touching the codebase.
Your next step is to write your first post, which you can do today in Wisp's free editor before connecting it to your app. If you’re tired of the friction from DIY blog setups, See Wisp in action.
FAQs
Why can't I just build a blog inside my Lovable app?
Building a blog directly in a Lovable app is complex because you must create all CRUD logic, routing, and SEO features from scratch. A headless CMS like Wisp handles this for you, letting Lovable focus on being an app builder.
What is a headless CMS?
A headless CMS is a content management system that separates your content from its presentation layer. It allows you to manage content in one place and deliver it via an API to any frontend, including your Lovable app.
How does Wisp make adding a blog to Lovable easier?
Wisp makes adding a blog to Lovable easier by providing a ready-to-use content backend and API. You just fetch posts from Wisp and render them on your frontend, skipping the need to build a blog platform from scratch.
Can my non-technical team members use Wisp?
Yes, non-technical team members can easily use Wisp. The editor is designed to be intuitive, like Medium or Notion, allowing anyone to write, format, and publish posts without needing to code or touch the app's codebase.
How does Wisp help with SEO for my blog posts?
Wisp helps with SEO by including all necessary metadata, like titles, descriptions, and featured images, in its API response. You can easily add this data to your page's <head> to ensure posts are properly indexed and shareable.
What does the free plan for Wisp include?
The free plan for Wisp is a permanent plan, not a trial. It includes unlimited blogs and unlimited posts with attribution, making it a great way to start your content strategy without any initial cost.
How do I customize the look of my blog?
You can customize your blog's look completely because it's rendered by your Lovable app. Wisp provides the content via an API, but you control all the CSS and HTML, ensuring it perfectly matches your brand's design.